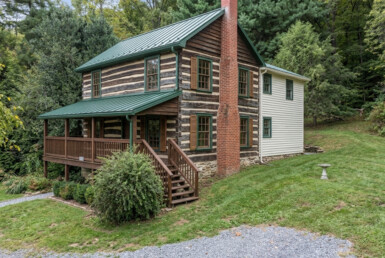
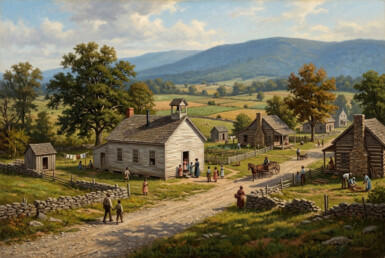
The Art of Sensitive Rehabilitation: Modernizing an 1800s Home Without Erasure
Updating a 19th-century historic home for modern living requires a delicate balance: you want to introduce contemporary functionality, electrical capacity, and efficiency without sacrificing the architectural character that gives the property its intrinsic value.
When done correctly, modernizing a historic interior actually enhances its market value by creating a home that feels both authentic and effortlessly livable.
1. Preserve the “Unreplaceable” Period Features
Before starting any demolition or layout changes, identify and protect the core architectural elements that define the home’s era. These are the details purists and historic home buyers look for first:
- Original Flooring & Trim: Refinish original heart pine, oak, or pumpkin pine floors rather than covering or replacing them. Retain baseboards, door casings, window aprons, and crown moldings. If trim is missing, have a local millwork shop match the existing historic profiles.
- Fireplaces & Mantels: Keep original brick hearths, stone surrounds, and carved wooden mantels intact—even if the chimneys are deactivated. They serve as essential focal points in principal rooms.
- Plaster, Doors, & Hardware: Save pocket doors, original interior doors, rim locks, glass knobs, and intact plaster work (such as ceiling medallions) whenever possible.
2. Conceal Modern Infrastructure Behind the Scenes
The most successful historic updates improve living conditions dramatically while remaining virtually invisible to the naked eye.
- HVAC Integration: Avoid drop ceilings, bulkheads, or exposed ductwork that cut across historical moldings. Use small-duct high-velocity (SDHV) air systems or mini-split heat pumps with paintable, low-profile wall units tucked into discrete corners or closets.
- Invisible Wiring & Plumbing: Snake updated 200-amp electrical wiring and modern PEX plumbing through floor cavity voids and existing wall chases rather than tearing down plaster walls to studs.
- Insulation & Windows: Restore original wood sash windows with weatherstripping and storm windows rather than replacing them with modern vinyl or aluminum units. Insulate attics and crawlspaces first before touching interior wall cavities.
3. Adapt Kitchens and Bathrooms with “Period-Transitional” Design
Kitchens and bathrooms in the 1800s were strictly utilitarian spaces (or non-existent indoors). Trying to force a ultra-futuristic, high-gloss modern kitchen into a 19th-century house creates jarring contrast. Instead, aim for a classic, timeless aesthetic:
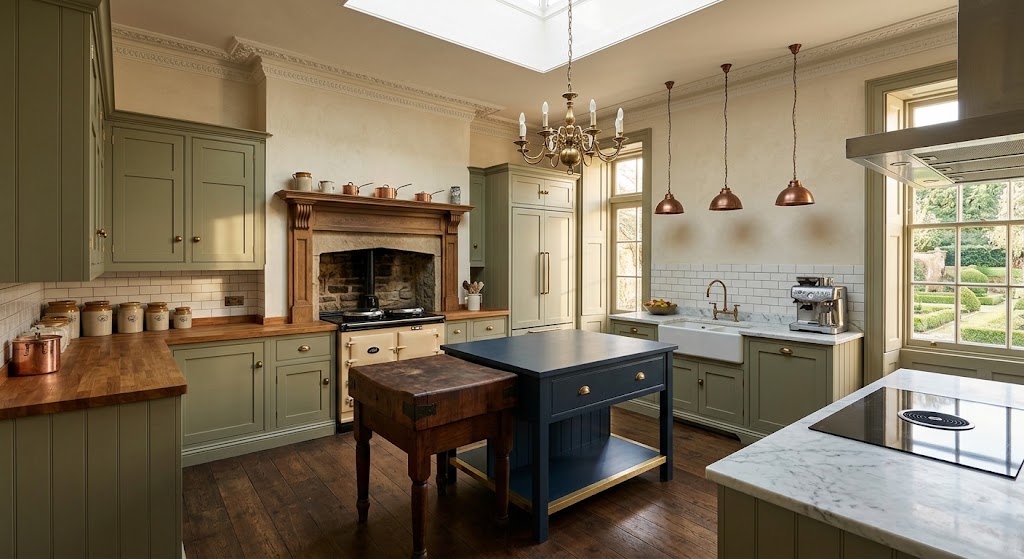
- Kitchens: Opt for inset cabinetry with traditional Shaker or beaded-panel door profiles. Choose classic materials like marble or soapstone countertops, subway tile or beadboard backsplashes, and unlacquered brass or oil-rubbed bronze hardware. Hide modern appliances behind cabinet paneling where feasible.
- Bathrooms: Use classic tile patterns (hex tile, penny tile, herringbone) and period-appropriate fixtures (clawfoot or built-in soaking tubs, pedestal or console sinks, cross-handle faucets) paired with modern tile-in showers.
4. Respect the Spatial Flow (Avoid Over-Opening the Plan)
Tearing down all interior walls to create a vast, monolithic “open concept” erases the narrative structure of an 1800s house.
- Create Connections, Not Cavities: Instead of removing full structural walls, widen existing doorways or add cased archways that allow light and sightlines to flow between the kitchen and living areas while maintaining distinct room definitions.
- Work Within the Footprint: Convert small, secondary historic rooms (such as pantry nooks, nursery spaces, or back parlors) into modern walk-in closets, powder rooms, or primary en-suite bathrooms.
5. Modernize Lighting Without Sacrificing Atmosphere
Lighting can quickly ruin the feel of an older house if done improperly.
- Minimize Recessed Cans: Avoid peppering historic ceilings with grid-like recessed LED cans. Instead, rely on a layered lighting approach using flush mounts, sconces, floor lamps, and period-style chandeliers.
- Use Warm Color Temperatures: Ensure all LED bulbs are spec’d to a warm 2700K color temperature to replicate the warm glow of historical illumination and complement natural wood patinas.